
The Finished Result
You’ll end up with an even, close-cropped cut like the photo, roughly a #2 length on top with the sides trimmed tighter. It looks sharp for about ten days before the shape starts softening. Zero product needed, just a shower and you’re out the door.

What You Actually Need Before You Buzz It
A buzz cut is the one haircut you can honestly do at home without ruining your week. Grab a mirror, clear twenty minutes, and you’ll be fine. Worst case, you missed a spot, and hair grows back.
Time: 15 to 20 minutes your first time, about 8 once you get the routine down
Tools:
- Adjustable clippers with guard set (Wahl Color Pro, around $25, handles this entire job), a handheld mirror or a second bathroom mirror to check the back, a cape or old towel to catch hair, and optional finishing trimmer for cleaning up the neckline (skippable if you just ask your barber to line you up between buzzes for $10)
Difficulty: Easy, roughly a 2 out of 10, the lowest-risk home haircut that exists
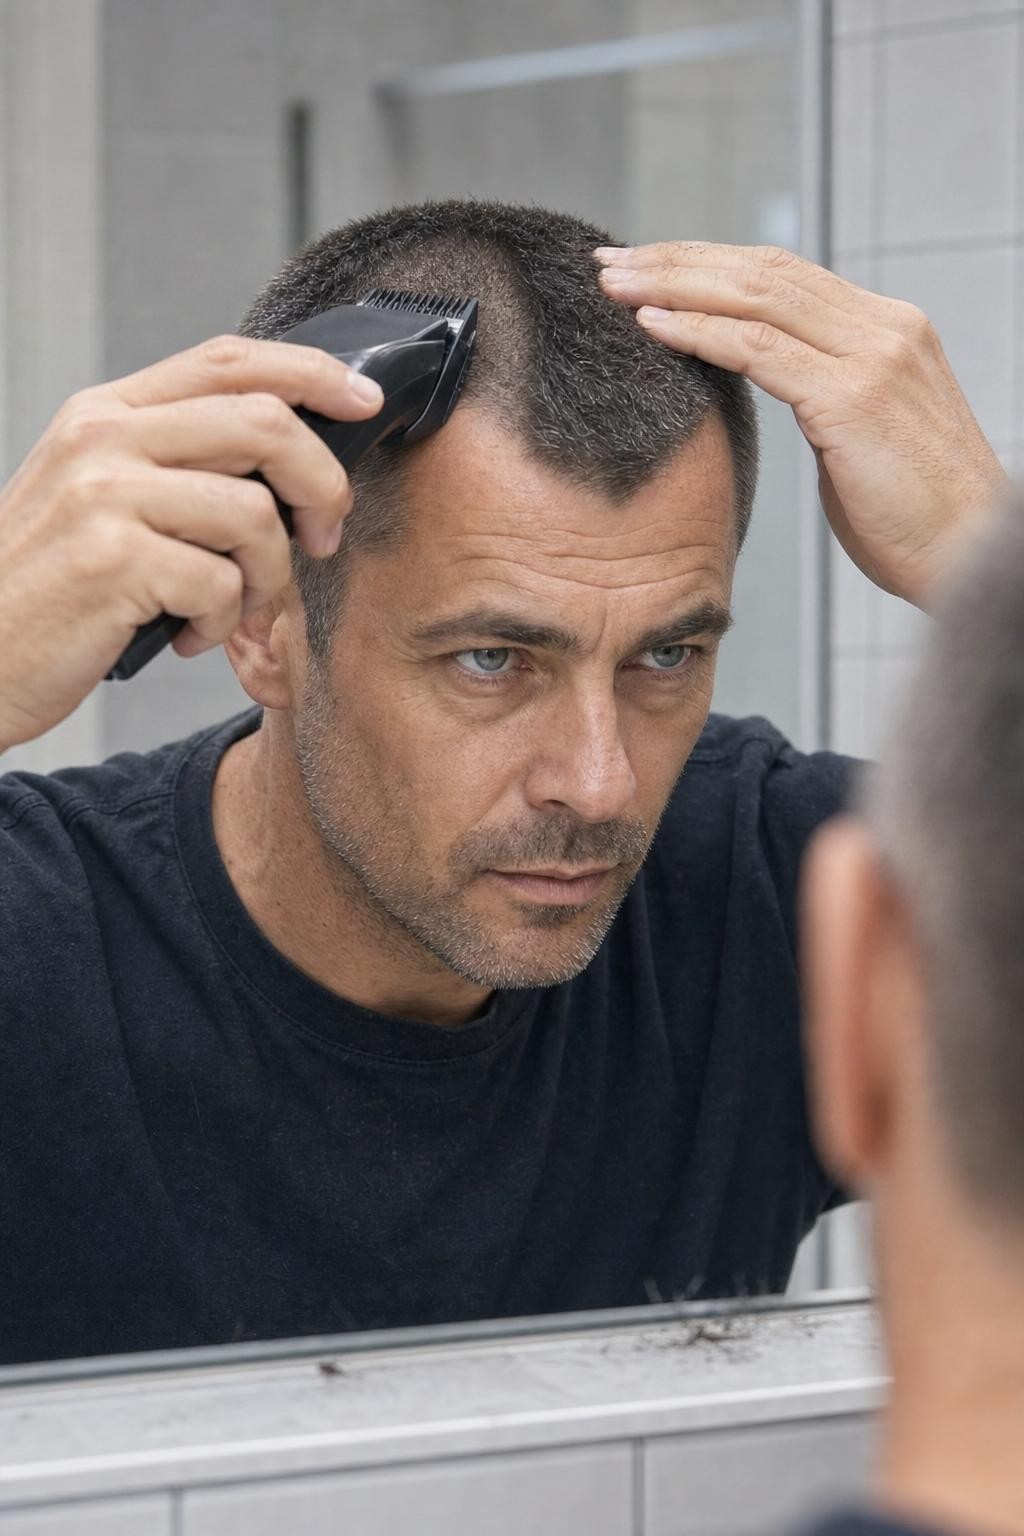
Start With a #3 Guard on Dry Hair
Snap the #3 guard onto your clippers and run them front to back across the top of your head, against the grain. Most guys start too short because they picture the finished cut, not the step before it. Go one guard longer than your target so you have room to even things out.
Checkpoint: Rub your palm across the top of your head in every direction. If you feel any longer tufts or ridges catching your fingers, make another pass over those spots before moving to the sides.
Instructions: The mistake here is buzzing damp, post-shower hair. It lays flat against the scalp, the guard skips over it, and you end up with patchy spots you only notice once it dries. Towel off fully, wait ten minutes, then start.
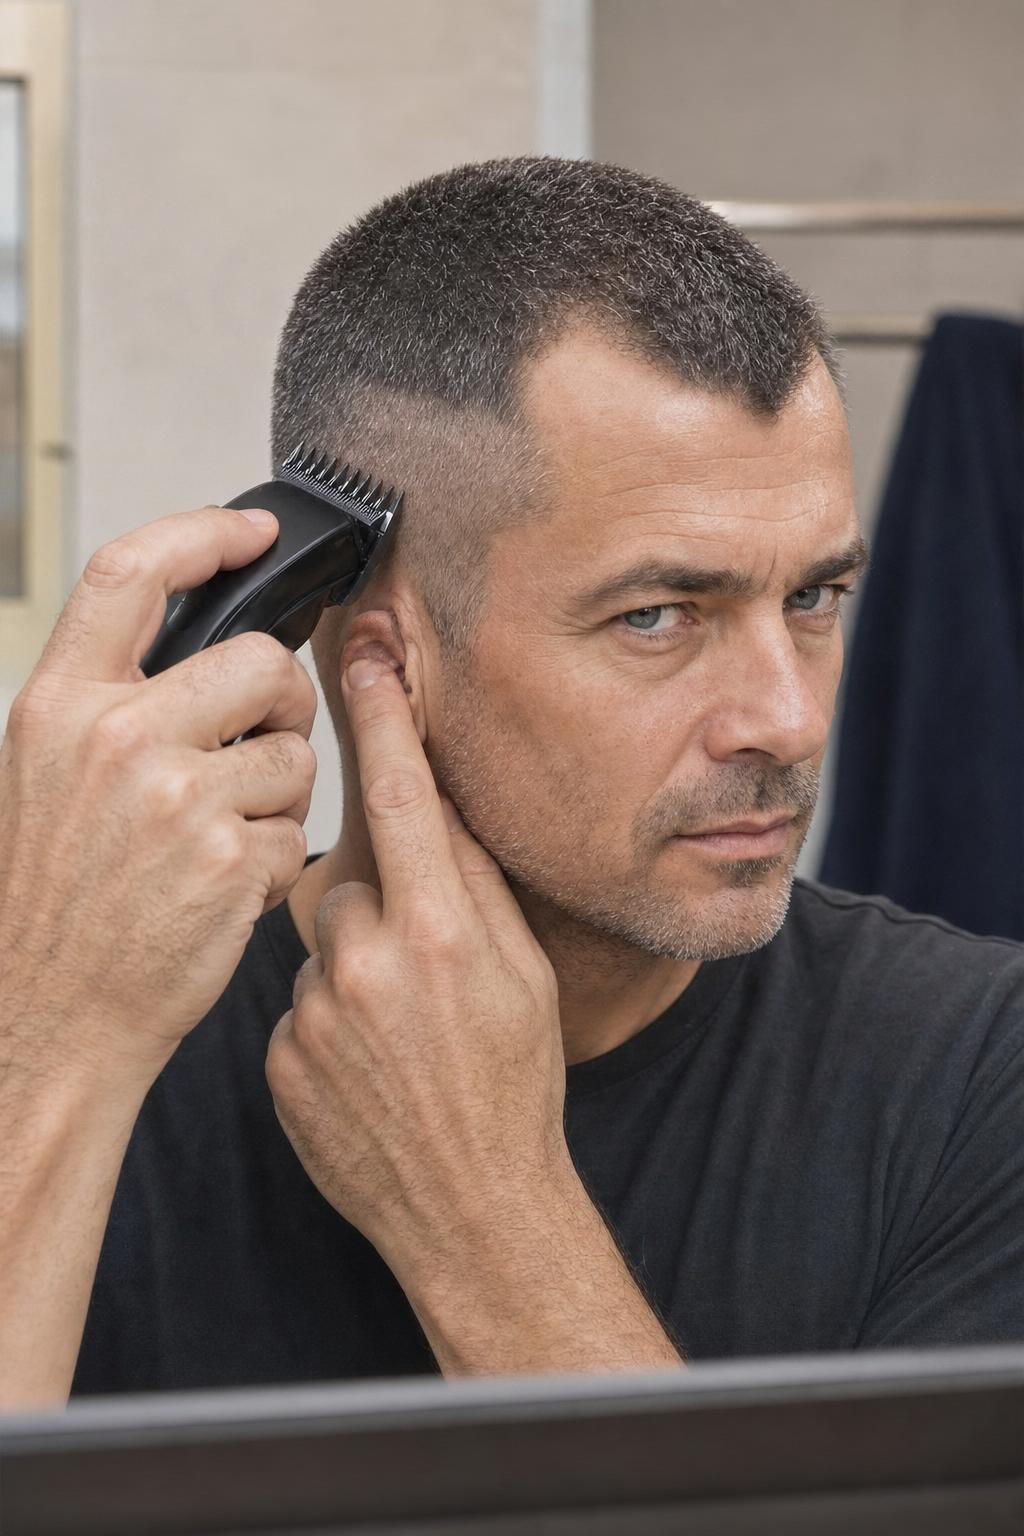
Start on Top With Your Longest Guard
Snap the #3 guard on and run the clippers against the grain from your forehead straight back to the crown. This gives you room to drop to a #2 once you’re sure about the length. Most guys start on the sides, panic at how short it looks, and end up shaving the whole thing to a #1 out of spite.
Checkpoint: Rub your palm across the top of your head, front to back, and it should feel uniformly rough like fine sandpaper with no longer patches catching your fingers.
Instructions: Use slow, overlapping passes with light pressure, letting the guard do the work instead of mashing the clipper head into your scalp.
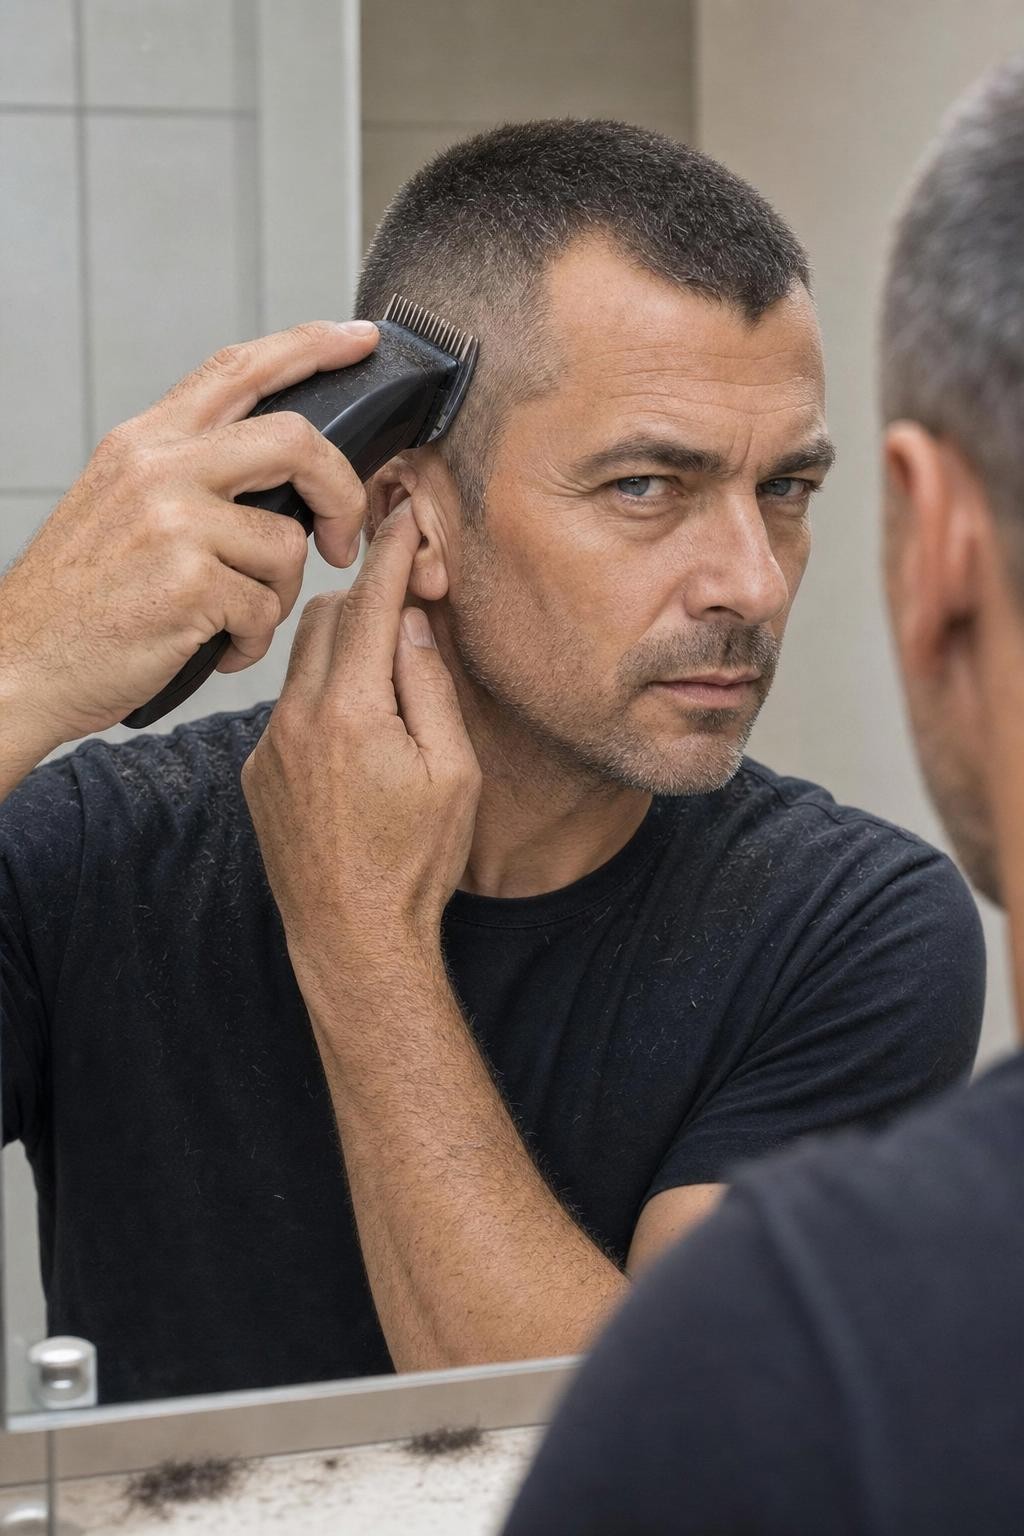
Work Against the Grain on the Second Pass
Run the clippers against the direction of hair growth over the entire head. This catches the flat-lying hairs your first pass missed. Most guys skip this and end up with patchy spots they only notice in sunlight.
Checkpoint: Rub your palm over your whole head, forehead to nape, in every direction. It should feel uniformly even with no ridges or fuzzy strips.
Instructions: Use your free hand to feel for rough patches as you go. Stubble that’s slightly longer will feel like fine sandpaper against smooth skin. Fold each ear forward and make a slow upward pass behind it. Hit the crown with short strokes in multiple directions, since hair there grows in a spiral.
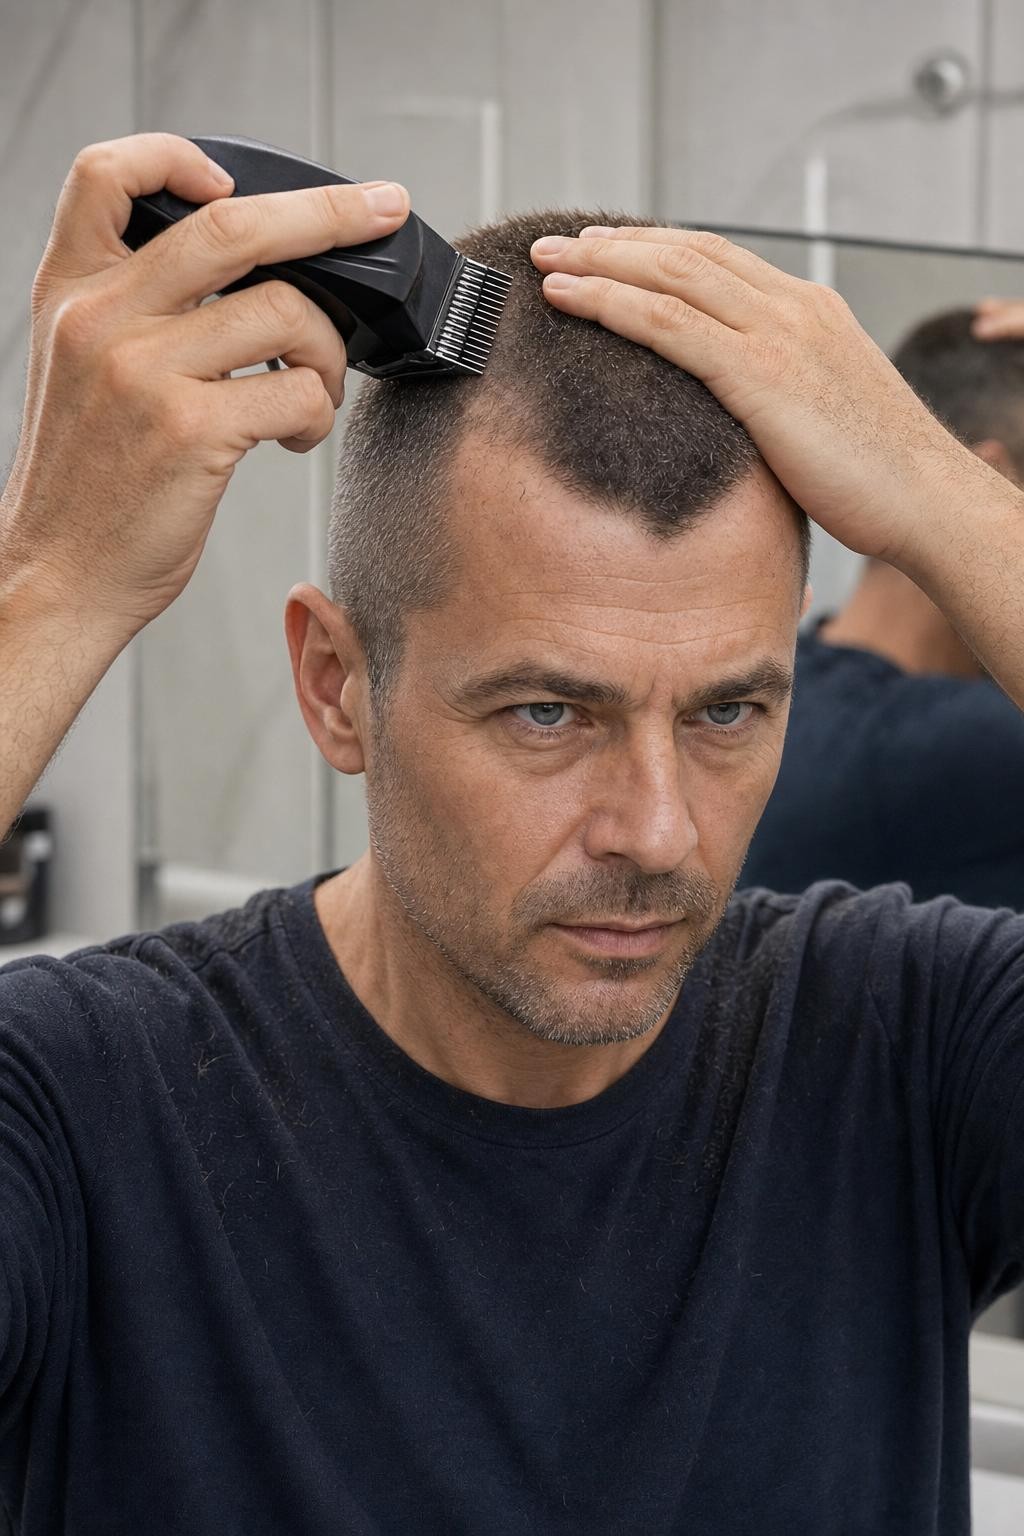
Blend the Top into the Sides
Switch to a #1 guard and run it from the bottom of your sideburns up to about an inch above your ears, stopping before the top section. This transition keeps the cut from looking like a helmet glued onto your skull. Most guys drag the shorter guard all the way up and erase any contrast between top and sides.
Checkpoint: Tilt your head under direct light and look in the mirror for a subtle gradient where the #1 meets the #3, with no hard shelf or visible line.
Instructions: Flick the clippers outward as you reach the border between guards, lifting away from your head rather than plowing straight through.
Clean Up The Neckline And Edges
Hold the clippers upside down, guard off, and trim a straight line across your natural neckline. This is what separates a home buzz from a “did you lose a bet” buzz. Most guys carve the neckline too high or try to round it, which looks like a helmet sitting on your neck.
Checkpoint: Run a finger across the neckline with your eyes closed. You should feel one clean horizontal edge, no fuzzy stragglers below it and no skin showing above it.
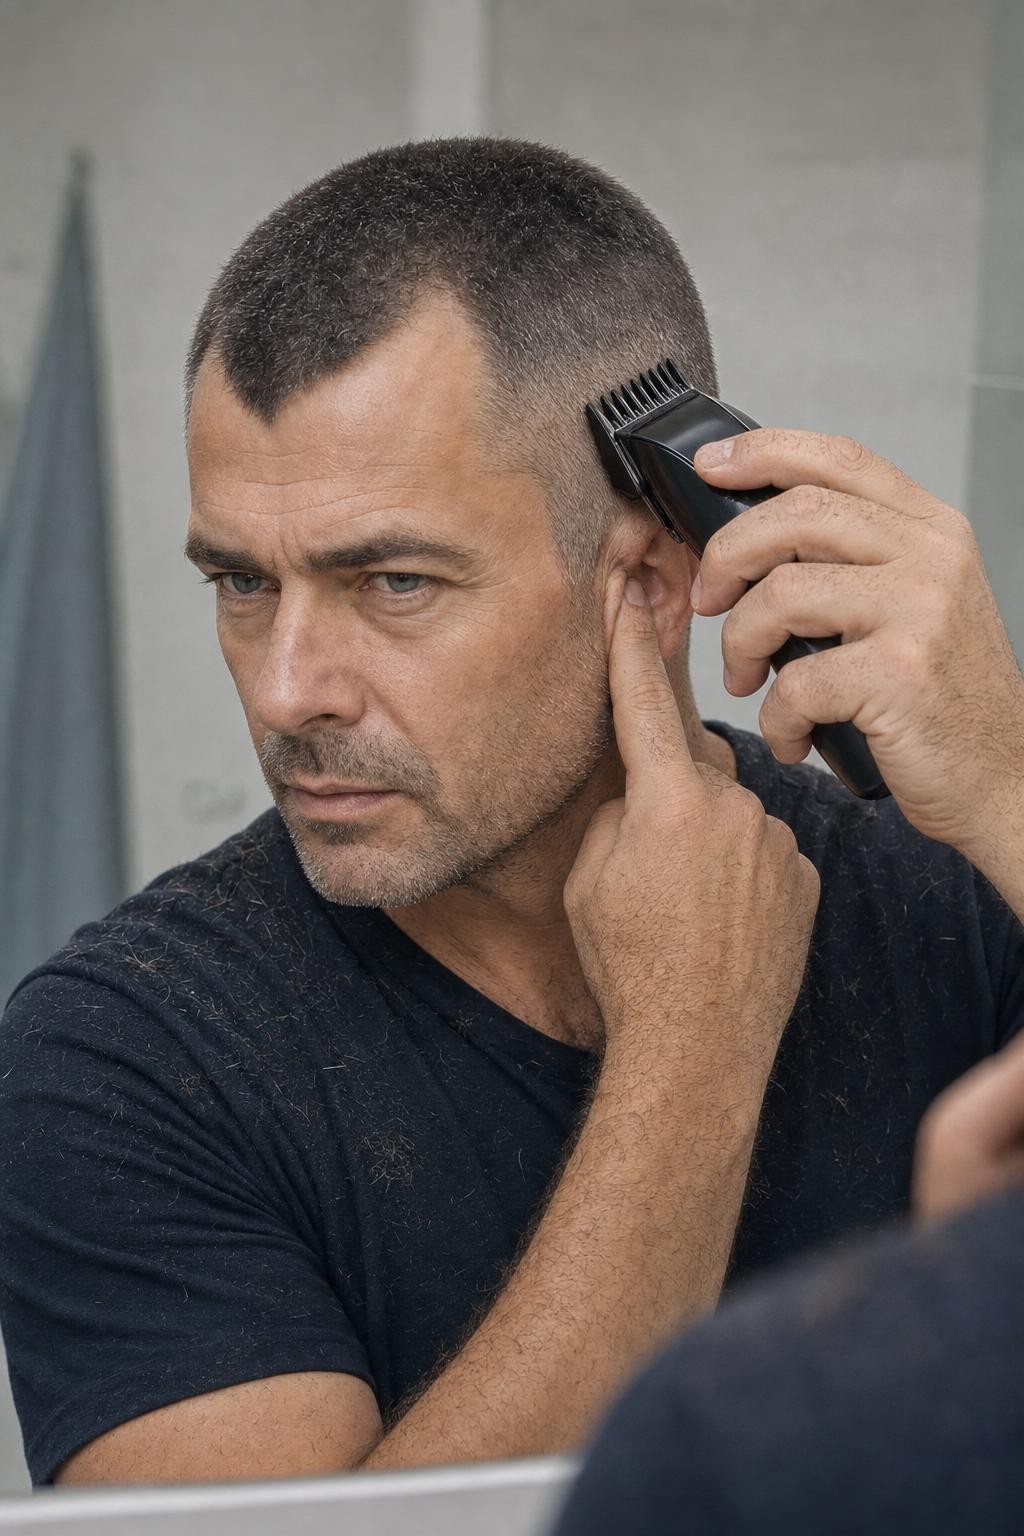
Instructions: Use your free hand to feel where your neck meets your skull, that bony ridge. Place the blade just below it. Cut straight across in one steady pass, then clean up the corners. Fold each ear forward and trim any stray fuzz behind it. Finish by checking the back with a handheld mirror, exactly like the photo shows, clipper angled against the side of your head to catch anything you missed.
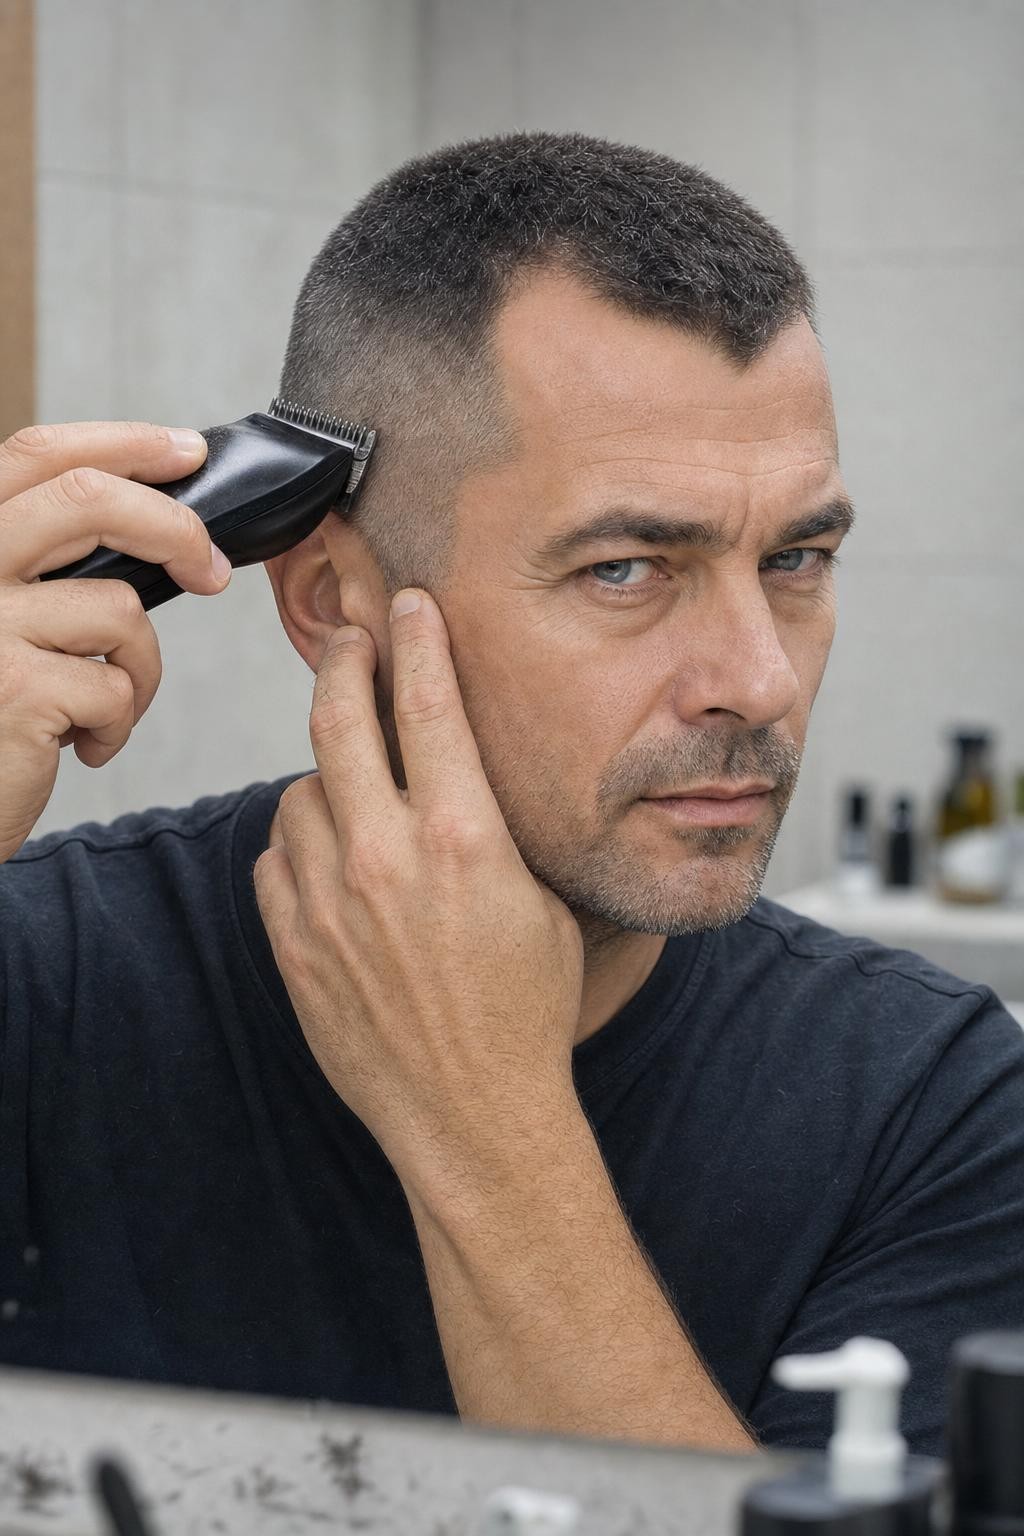
Clean Up the Neckline and Ears Without a Guard
Remove the guard entirely and trim the hairline around your ears, neck, and temples with bare blades. This is where home buzz cuts go from “okay” to actually sharp. Most guys skip this step because they’re afraid of cutting too high on the neckline.
Checkpoint: Run a finger along your neckline, ear edges, and temple corners. You should feel a clean break between skin and stubble with no stray wisps poking out. Both sideburns should end at the same height.
Instructions: The biggest mistake here is shaving the neckline too high. Your natural hairline is the guide. Going more than a finger-width above it creates a gap that screams home haircut as soon as it grows in.
Buzz Cut Mistakes That Leave You Looking Like a Tennis Ball
Most buzz cut disasters come from impatience, not lack of skill. Start one guard length longer than you think you want. You can always go shorter, but hair doesn’t have an undo button.
- Forgetting the ears and temples: clippers ride over these spots without cutting. Fix: fold each ear down, go slowly around it, and blend the temple corners with short downward strokes.
Four Ways To Twist The Basic Buzz Cut
A buzz cut is just a guard number and a direction. Change one variable and the vibe shifts completely. Pick the version that matches your head shape, hair density, and morning laziness.
- The Textured Buzz keeps a #4 or #5 on top, long enough to show some grain, with a #2 on the sides blended in. Ask for “#5 on top, #2 sides, blend it out, natural neckline.” You’ll want a tiny fingertip of matte clay worked through the top each morning, maybe 30 seconds of effort. Best for thick or wavy hair because the extra length actually shows texture. If your hair is pin-straight and fine, this just looks like a grown-out mistake.

Check Your Work, Then Put the Clippers Away
Run your palm against the grain over your whole head, feeling for any longer patches the clippers missed. The cut in this photo shows a uniform #1 or #2 length with no visible lines between the crown and sides, which is exactly what even coverage should look like. You’ll need to repeat the whole process every 7 to 10 days, because a buzz cut at this length starts looking shaggy fast, and there’s no product or styling trick that hides uneven grow-out.